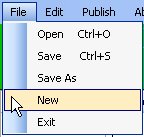
The File->New menu selection is used to create a new calendar. After selecting this option, a Windows "Save As" dialog will be displayed.
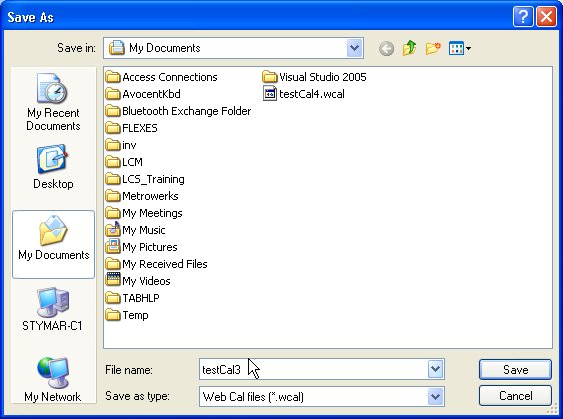
Choose a file name for the new calendar and press the Save button. You do not have to type the .wcal suffix. The next window to come up is the Title dialog.
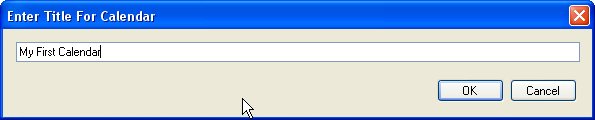
Enter the title for the calendar. This will appear at the top of each generated calendar page. Press the OK button and you will be processing the new calendar.